netatmo-thermostat
netatmo-energy
Setup
- Create an app at dev.netatmo.com to get your API credentials
- Either create a
.envfile:
CLIENT_ID=your_client_id
CLIENT_SECRET=your_client_secret
ACCESS_TOKEN=your_access_token
REFRESH_TOKEN=your_refresh_token
of pass in the vars to
Thermostat(client_id, client_secret, access_token, refresh_token) when
initializing the API client.
Usage
t = Thermostat()
hd = t.homesdata()
home_id = hd.homes[0].id
room_id = hd.homes[0].rooms[0].id

# Get current status
t.room_temperatures(home_id)
[{'room_id': '3352988001',
  'temperature': 21.7,
  'setpoint': 21.5,
  'setpoint_mode': 'manual'}]
# Set room to 20°C for 1 hour
t.setroomthermpoint(home_id, room_id, mode='manual', temp=21, endtime=int(time())+3600)
{'status': 'ok', 'time_server': 1767753063}
t.room_temperatures(home_id)
[{'room_id': '3352988001',
  'temperature': 21.7,
  'setpoint': 21,
  'setpoint_mode': 'manual'}]
# Get temperature history
r = t.getroommeasure(home_id, room_id)[0]
list(r), r['value'][:3]
(['beg_time', 'step_time', 'value'], [[22.2], [22.2], [22.1]])
Methods
homesdata()— get homes and topologyhomestatus(home_id)— current device statusroom_temperatures(home_id)— quick view of all room tempsgetroommeasure(home_id, room_id, ...)— temperature historysetroomthermpoint(home_id, room_id, mode, ...)— set room temperaturesetthermmode(home_id, mode)— set home mode (schedule/away/hg)getmeasure(device_id, ...)— boiler historycreatenewhomeschedule(...)— create weekly schedulesynchomeschedule(...)— modify scheduleswitchhomeschedule(home_id, schedule_id)— activate schedule
Thermostat Widget
The library includes a ready-to-use FastHTML/MonsterUI thermostat widget
for building web dashboards. Use
setup_thermostat_widget()
to register the routes and get the widget component:
app, rt = fast_app()
t = Thermostat()

# Get your home and room IDs
homes = t.homesdata()
home_id = homes.homes[0].id
room_id = homes.homes[0].rooms[0].id

# Setup widget (registers /setpoint route and returns the component)
climate_widget = setup_thermostat_widget(rt, t, home_id, room_id)

@rt("/")
def get():
    return climate_widget
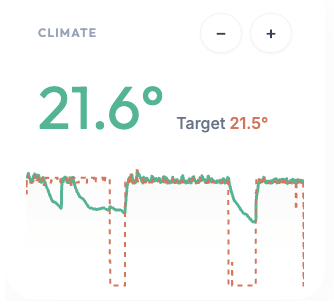
The widget displays current temperature, target setpoint with +/- controls, and a temperature history chart. Clicking the controls makes HTMX requests to adjust the thermostat in real-time.
Note: the widget uses MonsterUI’s ApexCharts so you will have to
include this in your headers Theme.blue.headers(apex_charts=True)
Dashboard
The main.py file includes a fully functional dashboard app with Google
OAuth authentication, ready to be deployed. The solar energy widget is a
placeholder—only the climate/thermostat functionality is connected to
the Netatmo API.
Deployment was done using pla.sh and is documented in
the nbs/00_core.ipynb notebook.
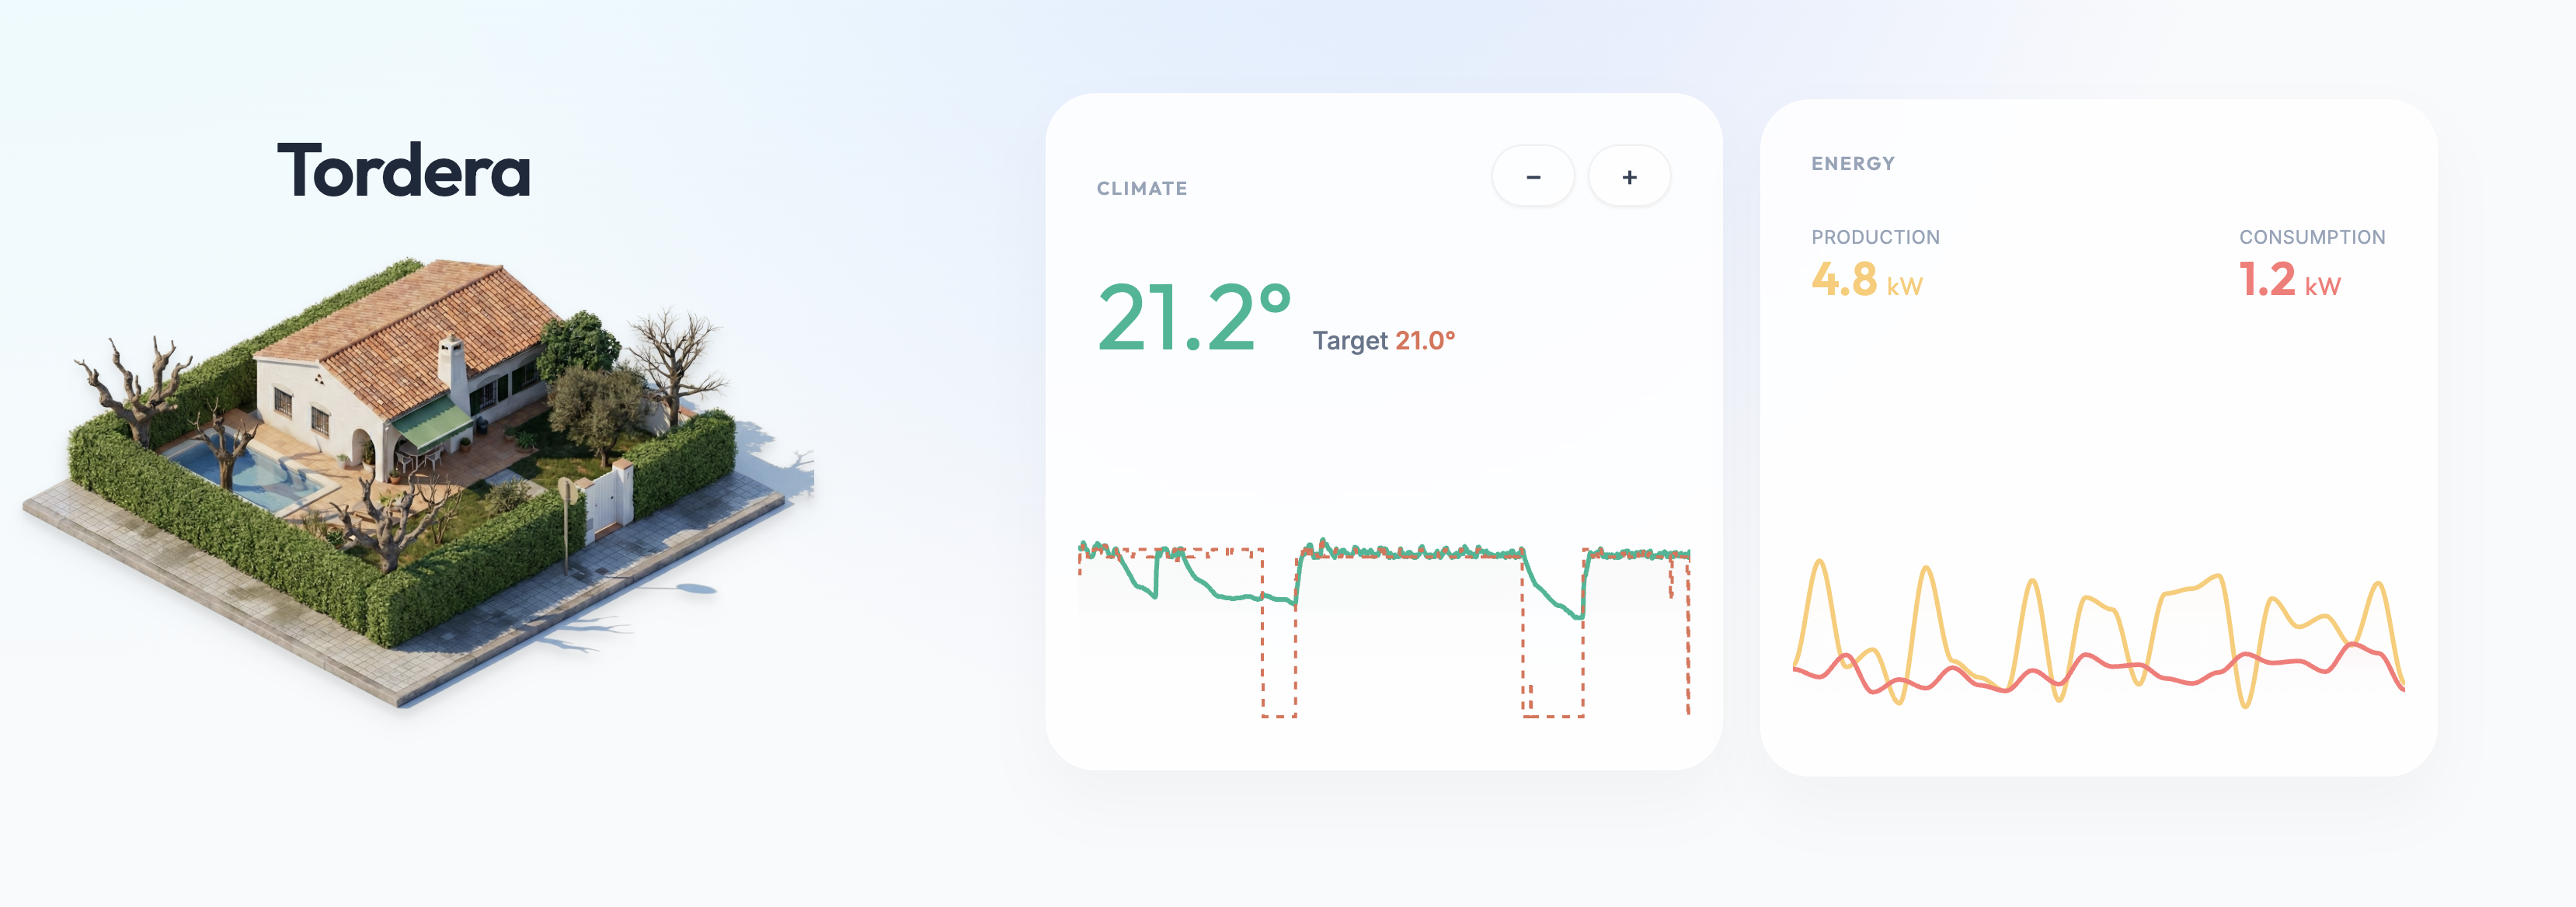
The house thumbnail was generated by copy-pasting a Google Maps screenshot into Gemini Nano Banana with this prompt:
Present a clear, 45° top-down isometric miniature 3D cartoon scene of [LOCATION], featuring its most iconic landmarks and architectural elements. Use soft, refined textures with realistic PBR materials and gentle, lifelike lighting and shadows. Integrate the current weather conditions directly into the city environment to create an immersive atmospheric mood. Use a clean, minimalistic composition with a soft, solid-colored background.
Background
Inspired by Andrej Karpathy’s tweet about using Claude Code for home automation. Instead of burning tokens on network scanning, this takes the “boring” approach: read the docs, write a simple SDK.